How to Mend Hairline Cracks on Ceramic with Strong Mechanical Integrity?
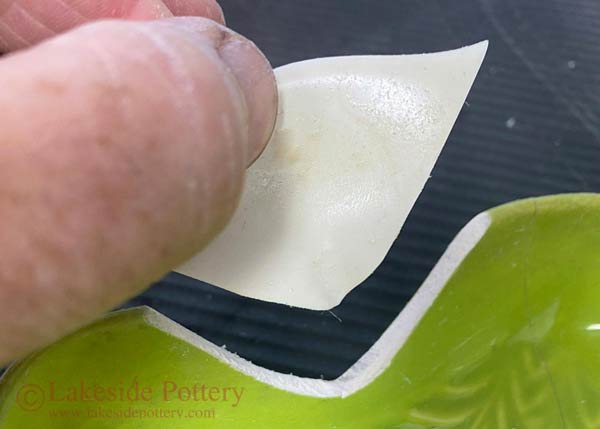
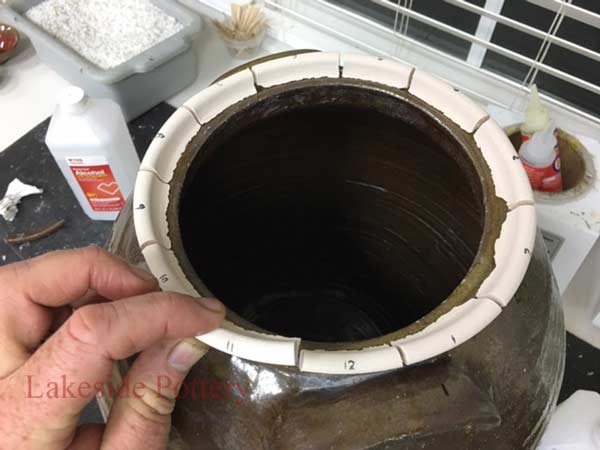
When restoring ceramic vessels with hairline cracks, in particular when it has intricate painting and/or texture details, it is important not to completely break off the crack. We show two hairline crack mending possibilities: a) the "pegging" method or b) enabling the epoxy to flow and penetrate the crack (see video). Minimizing the repair surface area by not extending the break line length will reduce the repair cost, better preserve the value and integrity of the vessel, and with sound mechanical integrity.
Detecting a Hairline Crack in a Ceramic Vessel
Pegging:
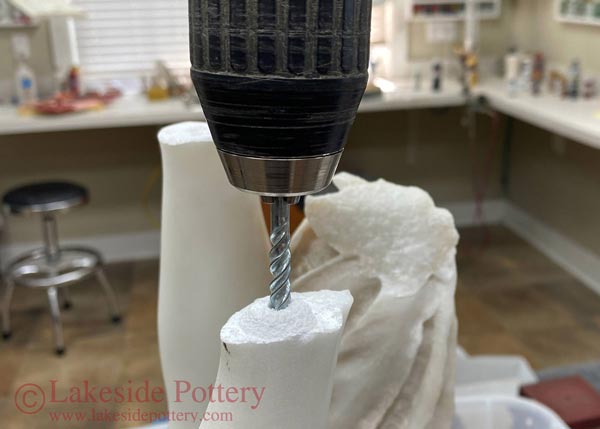
When a crack is too tight for adhesives like epoxy or Hxtal to penetrate effectively, alternative repair methods must be considered to avoid breaking the cracked segment for better access. Improper mending can lead to crack expansion over time or with movement, compromising the seamless repair. In such cases, we employ a pegging technique to ensure stability and strength. This method involves inserting and cementing a peg (see photo below) before proceeding with the seamless repair process. For this technique to be effective, the vessel's walls must be thick enough to accommodate a peg. Below, we provide step-by-step illustrations and explanations for repairing a cracked jar.
Use of Peg on a Tight Hairline Crack Without Adhesive Access:
Example of Using a Peg With a Questionable Adhesive Access:
Choose to grind the groove on the side with less detail. In this example, we used a 5mm diamond rotary disk to create a groove across the crack to embed the peg. We also created a groove along the crack to allow the clear epoxy to pool so that it can penetrate through the crack's wall.
Broken antique jug
Long hairline crack
Grind channel across and along crack
In this case, we used 12-gauge copper wire. We textured the surface to better bond with the adhesive. The razor blade is inserted in the crack to widen the gap for better epoxy penetration into the walls of the crack.
Gauge 12 copper wire in a vice
Grind surface for better adhesion
Cut copper to size (peg)
Clean surfaces with alcohol (91%)
Wedge a razor blade to widen crack
Shape peg and try for proper fit
Heating the mug and the epoxy to 120-140 degrees F will make the epoxy more liquid and enable it to penetrate through the crack. Warm the epoxy before mixing it and make sure the two parts do not touch each other to avoid cure time from starting (we use a microwave oven to warm epoxy). 120-140 degrees however, will reduce epoxy cure time from 5 minutes to about 2 minutes, so make sure all you need is near you.
Heat mug for optimum epoxy cure
Warm epoxy to be thinner (microwave)
Mix the warmed 2-part clear epoxy
Place the mug so that the crack and the grinded channels are on the bottom before placing the mixed 2-part epoxy. After applying the epoxy, inspect the other side of the crack to verify that the epoxy went through the walls of the crack. Remove the razor blade while the epoxy is still very liquid. Place the clamp before the epoxy hardens and put back in the oven (120-140 degrees F) for optimum cure strength.
Fill channel with epoxy
Remove razor blade
Clamp for better fit
Heat to 140 degree F for optimum cure
Mix filler epoxy
Fill gaps after removing excess epoxy
After cleaning the excess epoxy with a razor blade, fill all gaps with 2-part filler epoxy and sand with a Dremel and than by hand graduating to a very fine sandpaper.
Another example of hair line crack in a Chinese ceramic platter
IMPORTANT: Ceramic restoration materials are not food-safe, liquid or heat proof (over 190 degrees F) and repaired items should not be used on cooking or food serving ware more...